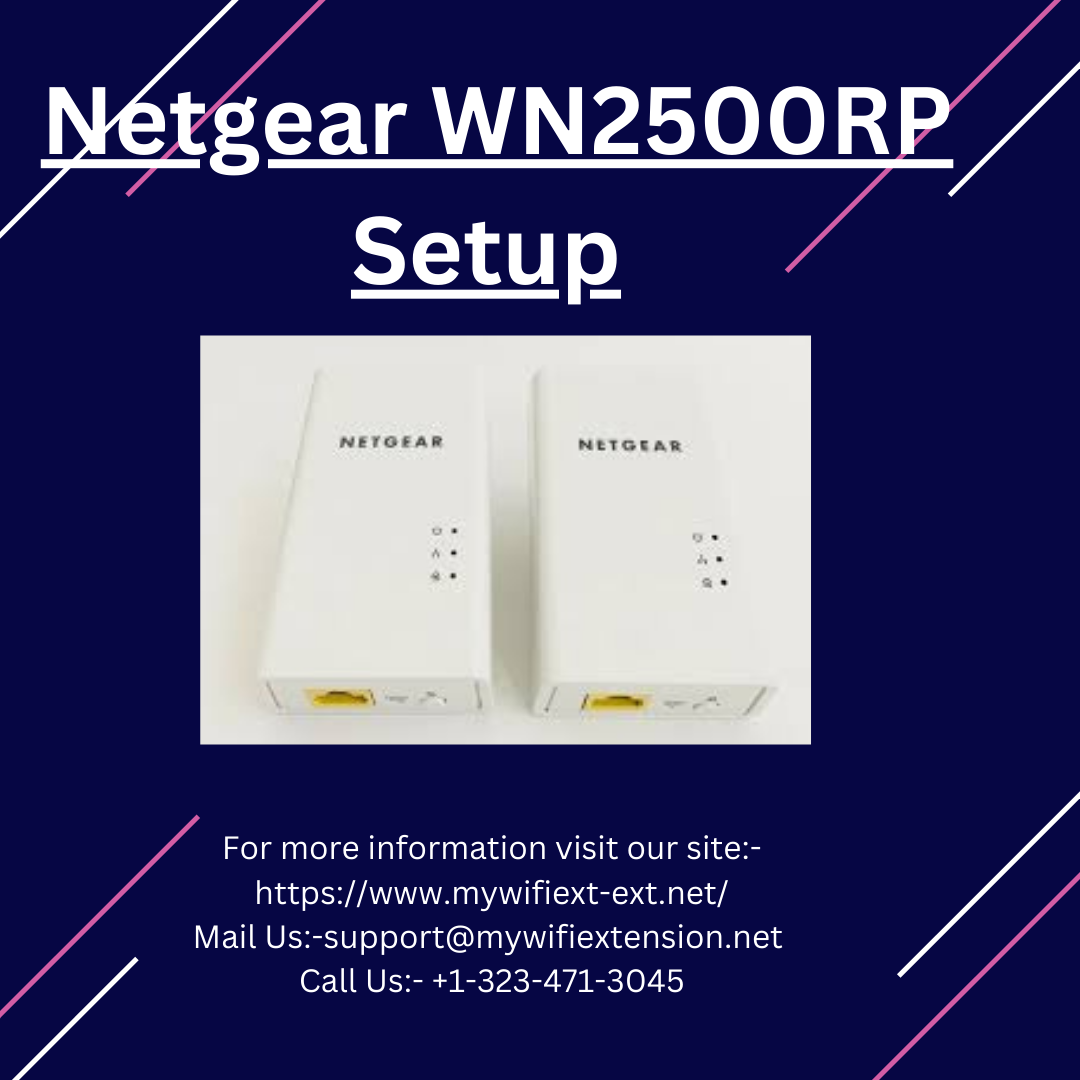
Netgear WN2500RP Setup
In today’s fast-paced digital world, a strong and reliable Wi-Fi connection is essential for our daily lives. The Netgear WN2500RP Wi-Fi range extender is a valuable tool to boost your existing network’s range and performance. We will provide a comprehensive guide for Netgear WN2500RP Setup, using both the manual and WPS (Wi-Fi Protected Setup) methods, troubleshooting common issues, performing a factory reset, and updating firmware for optimal performance.
Netgear WN2500RP Step-by-Step Guide: Manual Setup
-
Unbox your Netgear WN2500RP range extender and plug it into a power outlet between your router and the area where you need better Wi-Fi coverage.
-
Using your computer or mobile device, connect to the Netgear_EXT Wi-Fi network. The default password can be found on the extender or in the manual.
-
Then open a web browser and enter “www.mywifiext.net” or IP address “192.168.1.250” in the address bar.
-
You will be prompted to log in with your username and password, which are typically “admin” and “password.”
-
Follow the on-screen instructions to select and connect to your existing Wi-Fi network. Add your Wi-Fi network’s password when prompted.
How do I configure the Netgear WN2500RP setup via the WPS method?
1. Press the WPS Button:
-
On your Netgear WN2500RP, press the WPS button, and within two minutes, press the WPS button on your router. This method is suitable for routers with a WPS feature.
2. Wait for the Connection:
-
The WPS LED on the extender will turn solid green when the connection is established.
Troubleshooting Common Issues During Netgear WN2500RP Setup
1.No Internet Access
Check that your extender is placed within the range of your router and that you’ve connected to the extender’s network. Verify that the extender is connected to your router correctly.
2.Weak Signal
Relocate your extender closer to your router, avoiding obstacles and interference. Ensure the extender’s firmware is up-to-date.
3.Cannot Access Setup Page
Clear your browser cache and try a different browser. Ensure you’re using the correct web address (mywifiext.net or 192.168.1.250).
Resetting your Netgear WN2500RP range ext www.mywifiext.netender can be done using two methods: via the web browser interface and a hard reset (using the Reset button on the device). Here are step-by-step instructions for both methods:
Factory Reset via Web Browser:
Steps for Netgear WN2500RP Factory Reset via web browser given below you can follow these steps.
-
Connect your computer or mobile device to the Netgear WN2500RP’s Wi-Fi network (Netgear_EXT by default).
-
Open a web browser (e.g., Chrome, Firefox, or Edge) and enter “www.mywifiext.net” or IP Address “192.168.1.250” in the address bar.
-
You’ll be prompted to log in. The default username and password are often “admin” and “password,” but if you’ve changed these, use your customized login credentials.
-
Once logged in, navigate to the “Maintenance” or “Settings” section.
-
Look for an option to reset or restore to factory settings. It might be labeled as “Factory Reset,” “Reset,” or something similar.
-
After the extender has reset, you may need to set it up again using the initial configuration steps mentioned in the previous guide.
By following these steps are given above you have successfully Factory Reset via web browser.
Netgear WN2500RP Hard Factory Reset Method
Performing a hard reset on the Netgear WN2500RP is useful when you can’t access the web browser interface or if you’ve forgotten your login credentials. Here’s how to do it:
-
Locate the Reset button on your Netgear WN2500RP. This button is usually on the side or back of the device.
-
Using a pin or paperclip, press and hold the Reset button for approximately 5-10 seconds. You should see the Power LED on the extender start to blink, indicating that the reset process has started.
-
Continue holding the Reset button until the Power LED turns solid again, which usually indicates that the reset is complete.
-
Release the Reset button. The extender has now been reset to its factory default settings.
-
You can now set up the extender again using the initial configuration steps mentioned in the previous guide.
Please note that performing a hard reset will erase all custom settings and return the extender to its default configuration. Use this method only when necessary, as it should be a last resort if you’re unable to access the web browser interface for a standard reset.
Regenerate
Step-by-step guide for Netgear WN2500RP Firmware Update
Regular firmware updates can enhance your extender’s performance and security. To update the firmware:
-
Log in to the extender’s web interface.
-
Navigate to the “Settings” or “Administration” section.
-
Look for firmware upgrades and adhere to the instructions displayed on the screen.
Great! You have successfully updated your firmware with these steps for the Netgear WN2500RP firmware update. If you still face any difficulty during the firmware update, mail us at [email protected] or call us at +1-323-471-3045.
Conclusion
With the Netgear WN2500RP range extender, you can enjoy seamless Wi-Fi connectivity throughout your home or office. Whether you choose the manual or WPS setup method, understanding troubleshooting steps, factory resets, and firmware updates is crucial for maintaining a reliable network. By following this guide, you’ll have a more robust, efficient Wi-Fi network that meets all your connectivity needs.
Regenerate