How A Mini Heat Press Transfers Designs On Garments?
Direct-to-film or DTF transfer on garments is easier and more advantageous than any other printing method. You need a quality DTF printing machine, ink, powder, dryer, and a DTF heat press. The process involves printing the design on a film with a printer, then applying the adhesive powder to the printed film, curing the film in a dryer, and pressing heat on the garment.
A heat press machine plays a crucial role in DTF transfer. It makes the printing process quick and affordable. Also, the results achieved are more durable. You can customize any piece of garment and accessory including hats and bags using DTF transfer.
Let’s see how a heat press works
Step 1: Preparing the Press
Clean the machine to remove whatever dust particles could have accumulated on it. Also, it is advised that you keep your machine covered by parchment paper or a silicone mat to prevent dust accumulation.
Step 2: Preheating the Press
Each DTF transfer requires a set time, temperature, and pressure settings. You need to preheat the press according to the required settings. Also, test the settings to avoid reprinting, reduce wastage, and get the highest quality prints the first time.
Step 3: Preheating the Garment
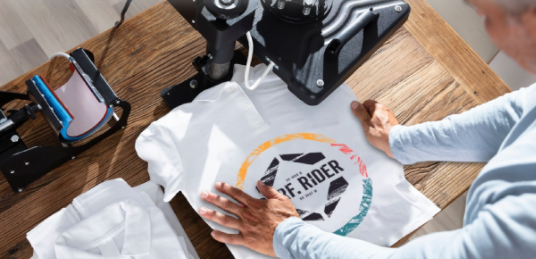
Place the garment on the lower platen of the mini heat press for printing. Here you need to make sure that the garment remains flat and wrinkle-free.
Step 4: Setting the DTF Transfer
It is the most important part as the transfer has to be set just above the marked area so you get the print at the right place. If you are printing delicate garments like silk or rayon, you will need to cover the garment. It will keep the garment smooth while transferring the design.
Step 5: Applying the Press
Apply the press according to the settings. Since you have already made the settings, the machine will press the design according to the set pressure and for the set time.
Step 6: Let the Transfer Cool
Remove the press and allow the design to cool for 30 seconds. If the transfer is hot-peel, you need to peel immediately after removing the press. But if it is a cold-peel, you can take some time to peel the carrier sheet.
Step 7: Removing the Carrier Sheet
If you are working on a cold-peel garment, you can wait for it to cool to remove the carrier sheet. The transfer will appear on the garment. Similarly, you can print more garments and accessories with crafting heat press.