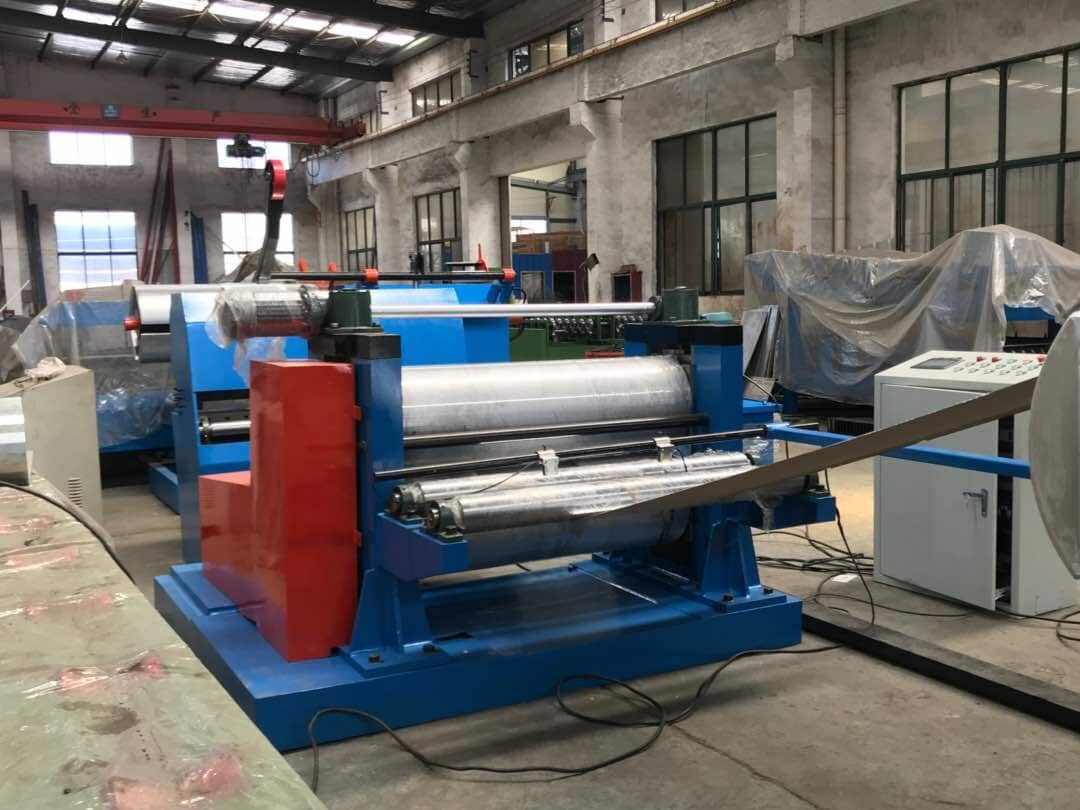
Metal Mastery: Embossing Machines Redefined for Metal Sheets
Craftsmen and makers have always been fascinated by the union of metal and texture in the field of design and handicraft. Introduce embossing machines that have been designed for use with metal sheets. A sophisticated and creative toolkit that enables creators to enhance the material and aesthetic appeal of metal surfaces. These machines accurately and creatively control pressure and imagination to produce unanticipated instances, reliefs, and plans on various metal substrates. This article delves into the fascinating world of Embossing Machines For Metal Sheet. It will offer insight into their capabilities, uses, and the innovative disruption they cause in the metalworking industry.
Material Needed For Metal Sheet Embossing
-
Wooden Board
The most practical wooden foundation you can find that is strong but thin enough to not restrict your movement while embossing is a wooden clipboard. It should be smooth and free of any flaws, including blade markings. The two options available to us are a portrait and a landscape clipboard. You can use it from either side by removing the clip.
-
Foam Sheet
For different embossing depths, you’ll need two different kinds of rubber mats. The paper pad and wooden board’s harsh surface are softened by the thinner soft rubber mat. A thick rubber pad that enables you to leave deeper impressions on your metal sheet is also necessary. The mats must be flawless on both sides and completely smooth.
-
Metal Embossing Tool Kit
It consists of the following items:
-
Texture Wheel
Borders and crimping your metal embossing can be easily fixed using texture wheels. As you can see, it comes in several designs. You can find a herringbone, straight horizontal, diamond, wavy serrated, and plain wavy shape. Dotted, straight, and narrow diamond designs are other options.
-
Brass Brush
The brass brush burnishes your metal embossing more precisely to give it a weathered patina look. Additionally, it can cover up blemishes on your product or give it a smooth glossy finish.
-
Needle Tool
For metal embossing, we have two different kinds of needle tools, each with a distinct function. On your metal sheet, the 4-needle tool creates four score lines and can create beautiful weave patterns. To reduce ripping, it’s recommended to use it on pad paper placed over the wooden mat rather than the rubber sheet. On the other hand, the one-needle tool’s function is accurate cutting, particularly in inlay designs.
-
Paper Stump
The metal sheet’s embossed look is enhanced by the paper stumps. To soften the new stump’s stump, you can trim the tip of it and polish it with a sanding block. Sizes #4, #5, and #6 are most frequently used for metal embossing. This is because they have a more natural size for less hand fatigue.
-
Metal Sheets
Finding the proper metal sheet kind and thickness is crucial. Aluminum sheets, copper sheets, brass sheets, or pewter sheets in gauge 32–40 are all recommended by metal embossers. Because they are so malleable, they are the greatest metal sheets for embossing. The most widely used and reasonably priced craft sheets are made of aluminum. Even soda cans can be recycled to create embossed metal art. Beautiful pendants, earrings, and bracelets can be made from embossed copper and brass metal sheets. They tarnish quickly, necessitating regular upkeep and cleaning.
-
Brayer
Metal artisans occasionally press a brayer over a complex pattern to initially transfer it to the metal sheet.
-
Stencils
If you want to use your embossed metals as the house decor, stencils with patterns like mandala designs make excellent choices. The mandala patterns on metal boxes make them ideal for use as jewelry boxes, tissue holders, and pen organizers.
-
Lubricant
Adding lubricant to the paper stump makes the job easier and reduces wear and friction on the embossed metal. Before you add any finishing, make sure to thoroughly remove the grease with rubbing alcohol.
-
Rubbing Alcohol
Your embossed pewter is cleaned of all grease, dust, and other foreign objects by using rubbing alcohol. To eliminate any remaining chemicals, wipe the embossed surface dry with a paper towel to complete the cleaning process. Cleaning your embossed metal sheet is essential before making any final adjustments.
How To Emboss Metal Sheets?
-
Place the stencil over the colored area of your aluminum sheet with color coating.
-
Use a pencil to trace the pattern onto the aluminum sheet. The embossing stylus and the aluminum sheet have less friction thanks to the graphite on the pencil.
-
Flip the aluminum sheet over, then transfer it to the clipboard made of wood.
-
Using a paper stump to fill in the design, outline it with an embossing tool.
-
Before lifting the stencil without completely removing it, inspect the design to see if you missed any areas. Retouch as necessary.
Conclusion
We hope that this article will provide you with all the information related to metal sheet embossing. For more information related to this topic Visit Here To Related Post.